
Getting Started
Welcome to the Center Developer API!
This guide will walk you through the basics of the Center Real-Time Expense product, the important resources in our Developer API, and show you how to create your own card and expense in a Sandbox environment.
Intro to Center Real-Time Expense
The Transaction
The core workflow of Real-Time Expense begins with a Spender using a CenterCard to purchase goods or services from a Merchant. The payment Processor generates a Transaction, which Center receives in real-time and turns into an Expense.
The Expense Form
An Expense starts with a status of unsubmitted. The Spender is responsible for submitting the Expense Form with the correct properties and (often) attaching a Receipt image for the transaction. The Expense Form is composed of Expense Fields, which are set manually by the Spender and/or automatically by various rules set by administrators. Each field can be populated by at least one List Item. The list items that appear to the spender are driven by Visibility Rules set by administrators.
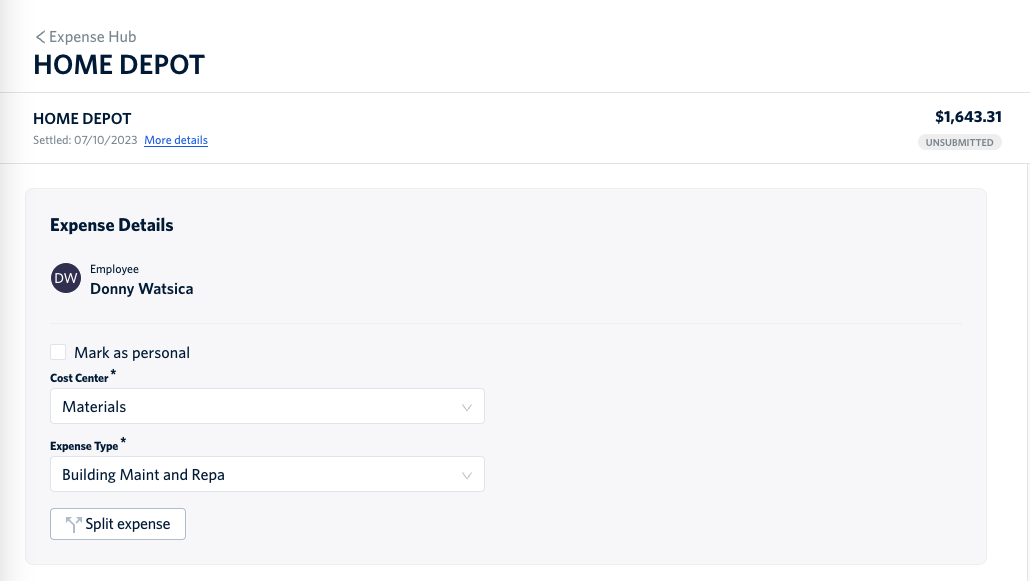
Typically, the values for each List Item are human readable to the Spender to make submitting expenses easy and accurate. Behind the scenes, these values can be associated with specific codes or numbers used in an organization's accounting system. This mapping can be done using Field Mapping Rules set by administrators.
The Expense Workflow
Once the Expense Form is populated correctly, the Spender submits the expense and the status becomes In Review. At this point, Center evaluates a set of Approval Rules that are set by administrators to determine which people must approve the expense. Approvers can either approve the expense, deny the expense, or send it back to the Spender for revisions. If all Approvers complete their approvals, the expense status becomes "Reviewed."
An expense in the Reviewed status is ready to be synchronized to an organization's accounting system. A Finance Manager can manually or automatically sync these expenses, and then mark their status as "Archived."
Create a Sandbox Environment
To get started with the basics of Center Real-Time Expense, you'll need to access a Sandbox environment. A Sandbox is a fake organization that allows you to test the product and create integrations without affecting real customer data or funds.
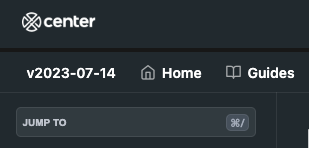
You can always tell you're in a Sandbox by looking for the Sandbox indicator in the top left corner:
To create a Sandbox environment, send an email to [email protected] with your name and organization. Our platform team will set you up with your own Sandbox.
With access to a Sandbox, you'll be able to test various workflows and interactions in the user interface and through the Developer API.
Generate an API Key
The next step is to generate a unique API Key, which will be used to authorize your API requests. When you receive your credentials for your Sandbox environment, you will also receive an API Key for this sandbox. If you ever need to regenerate a new key, send an email to [email protected] and our platform team will assist you.
Retrieve Data from Your Sandbox
Now that you have an API Key for your Sandbox, you can start by retrieving data from your Sandbox. You can use your favorite API client like Postman, Insomnia, Hoppscotch, etc. or work directly from an IDE / CLI. Import the specification here.
The easiest place to start is with the List Expense endpoint. This will allow you to retrieve a list of expenses from your Sandbox.
Note: any time you send a request to the Developer API, you'll need include your API Key and the Center Version that you will use. You can find the latest version of Developer API in the top left corner of the API Reference.
Create a CenterCard in Your Sandbox
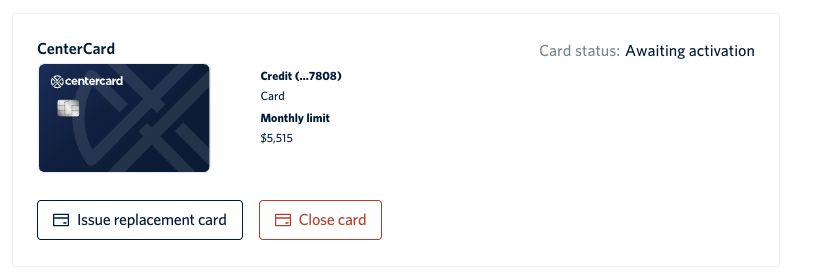
Now, we're going to show you how to create a CenterCard in your Sandbox. We will be using the Create Card (Post) endpoint to complete this task.
To verify that your new card was created successfully, there are two ways to check:
- Grab the ID field from the response that you generated when creating the card. Then call the List Cards endpoint and include this card ID or the related user ID in the request parameters.
- Go to your Sandbox in your browser, go to Admin > Users. Find the user tied to this card and click on the user to open user details. The card information will appear at the bottom of the page.
Create an Expense in Your Sandbox
Next, we'll create an Expense in your Sandbox using the Developer API. We will use the Create Expense (Post) endpoint for this task.
Normally, expenses are automatically generated by Center from Transactions using the CenterCard. When you create an expense via API, you're creating an expense that doesn't originate from a CenterCard. This could be for per diem, other card programs, or employee out-of-pocket expenses.
To verify that your new expense was created successfully, there are two ways to check:
- Grab the ID field from the response that you generated when creating the expense. Then call the Get Expense endpoint and include this expense ID in the request parameter.
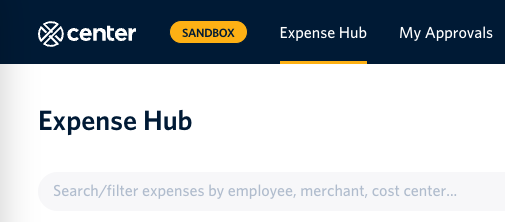
- Go to your Sandbox in your browser, go to Expense Hub and change the status view to "All." Find the spender user name tied to this expense and search for this person. You should see your new expense in the list of results. If you're unable to find it, you can insert the expense ID into the URL path using the following syntax: https://app-center.com/expensehub/{expenseId}.
What's Next?
Using your Sandbox, try out each of the resources within the Developer API. Once you're comfortable retrieving and updating data, you can start creating a custom integration connected to your Sandbox environment. This will allow you to test out various workflows before integrating with your production data. Once you're ready to connect your custom integration to production, email [email protected] to get set up with a production app and API Key.
Updated almost 2 years ago